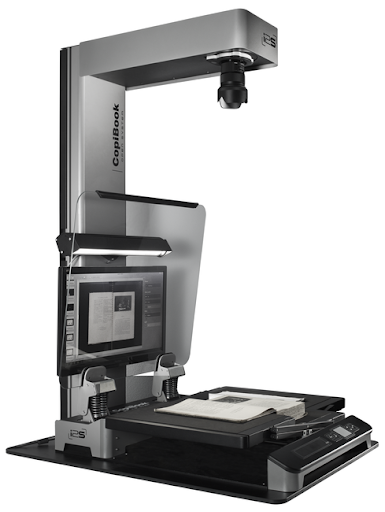
CopiBook OS XD Book Scanner Guide
This document serves as a guide for digitization practices supporting The Revolutionary City: A Portal to the Nation’s Founding, a collaborative digital project utilizing Islandora and Drupal platforms. Specifically, it is intended to guide project staff in the use of the CopiBook OS XD Book scanner to produce high-quality digital surrogates of original materials.
This document will be updated as needed to reflect changes in software, hardware, or digitization standards.
Step 1:
Open Limb Capture program from desktop.

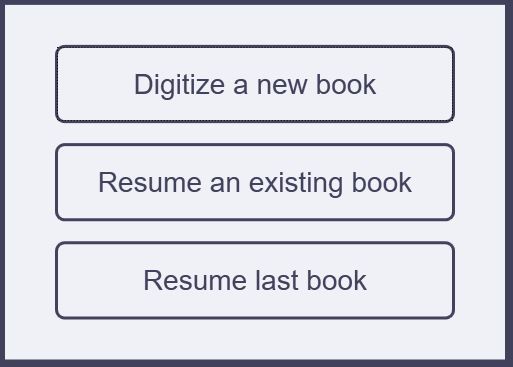
Step 2:
From the Initial Book Scanner Menu select from, Digitize a new book, Resume an existing book scan, or Resume last book scan.
- Most often you will choose “Digitize a new book”
Step 3:
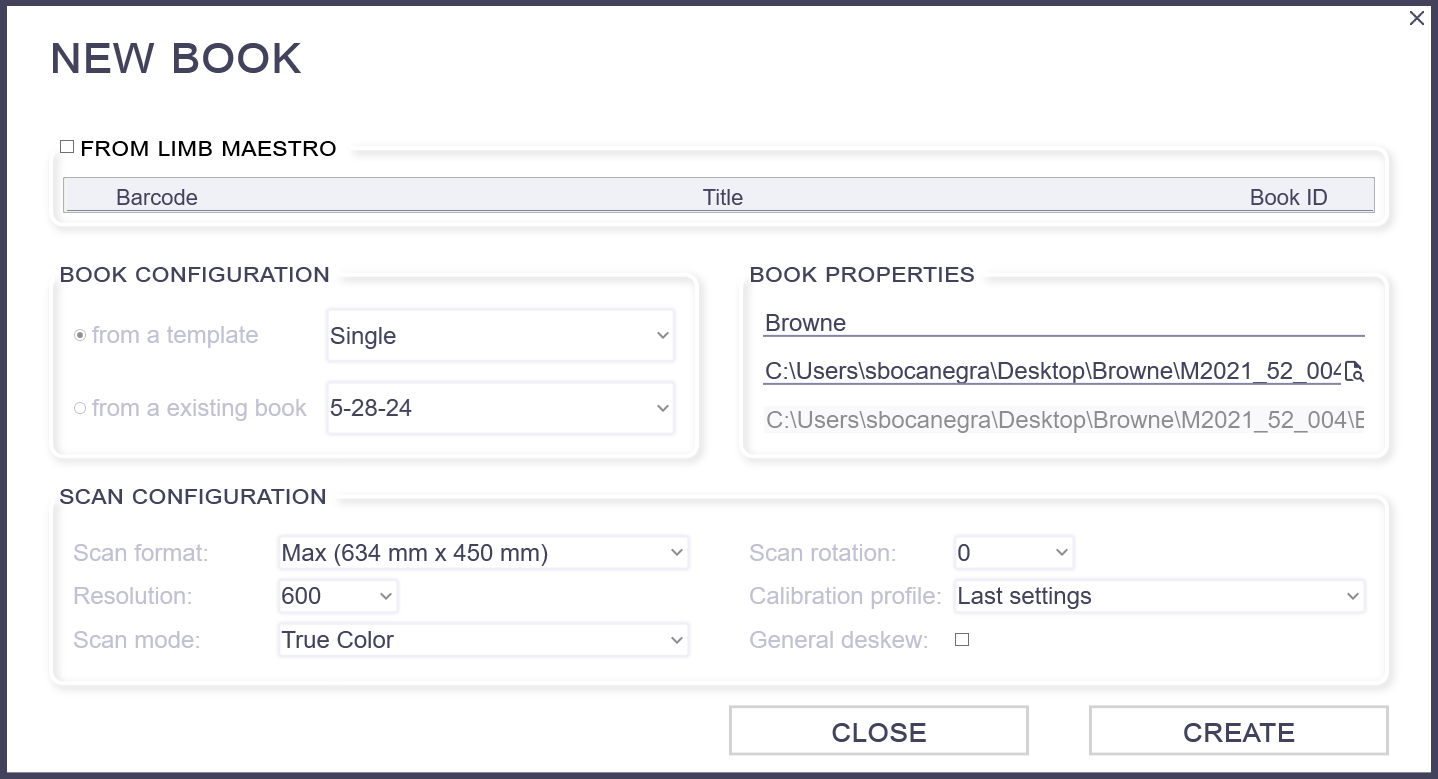
If Digitize a new book is selected, adjusting new book settings will be necessary:
Book configuration – make sure “from a template” is chosen
- Single – 1 scanning frame (use for bound material to capture full scope of object)
- Double – 2 scanning frames
- Note: Number of frames dependent on material
Scan Configuration
- Scan Format – Max should be selected
- Resolution – DPI is dependent on material. See documentation on scanning specifications
- Scan Mode - True Color
- Scan Rotation – Based on layout of material
- Calibration Profile – Last Settings should be selected
Book Properties
- Name - Follow the Revolutionary City file naming standard
- Saved Image Path - Select folder created in P:drive or external hard drive
Select Create
Step 4:
Place collection material on the scanner bed.
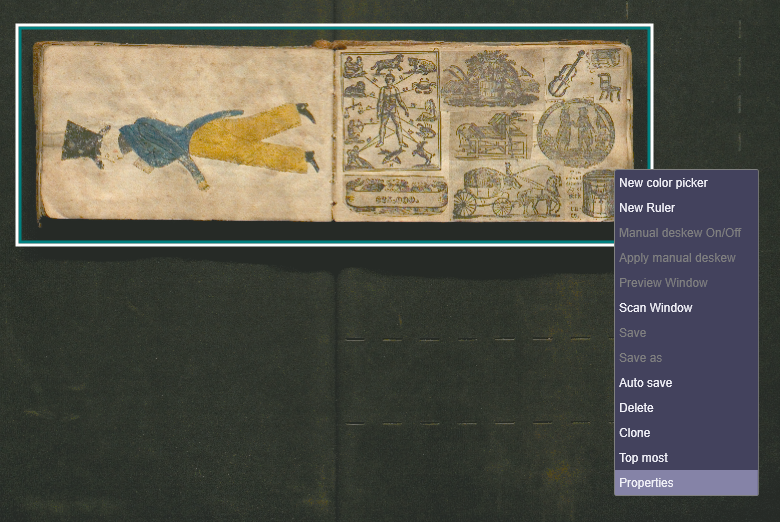
- By default, the screen will display the real time preview or scanned image (just after scan).
- If marquee is dotted, then:
- Right click mouse inside marquee and click ‘auto save’
- Marquee should turn to a solid line
Step 5:
Adjust properties of the frames.
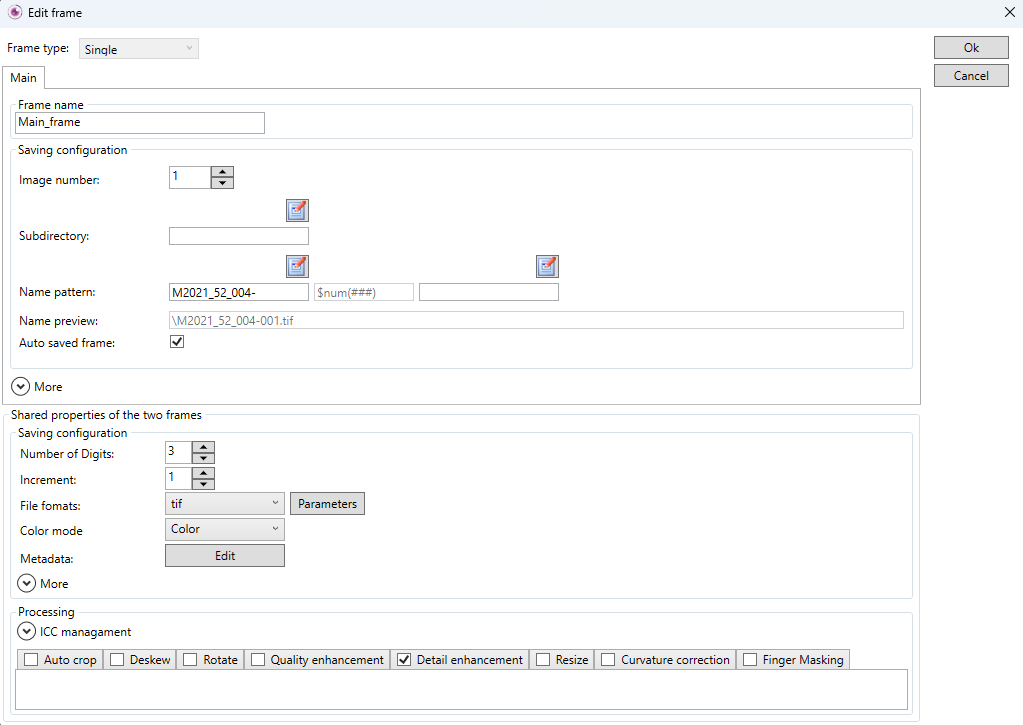
- Right click inside the marquee and select properties. The frame properties screen will appear.
Frame name - Leave as Main_frame
Name pattern
- Add root file name in first box
- Delete all text in third box
- You should see a preview of the file name in Name preview field
Number of digits - 3
Image number - 1 (this indicates you would like to start at 1)
Increment - 1 (this indicates you would like files to be sequential)
File formats - tif (for preservation quality)
Step 6:
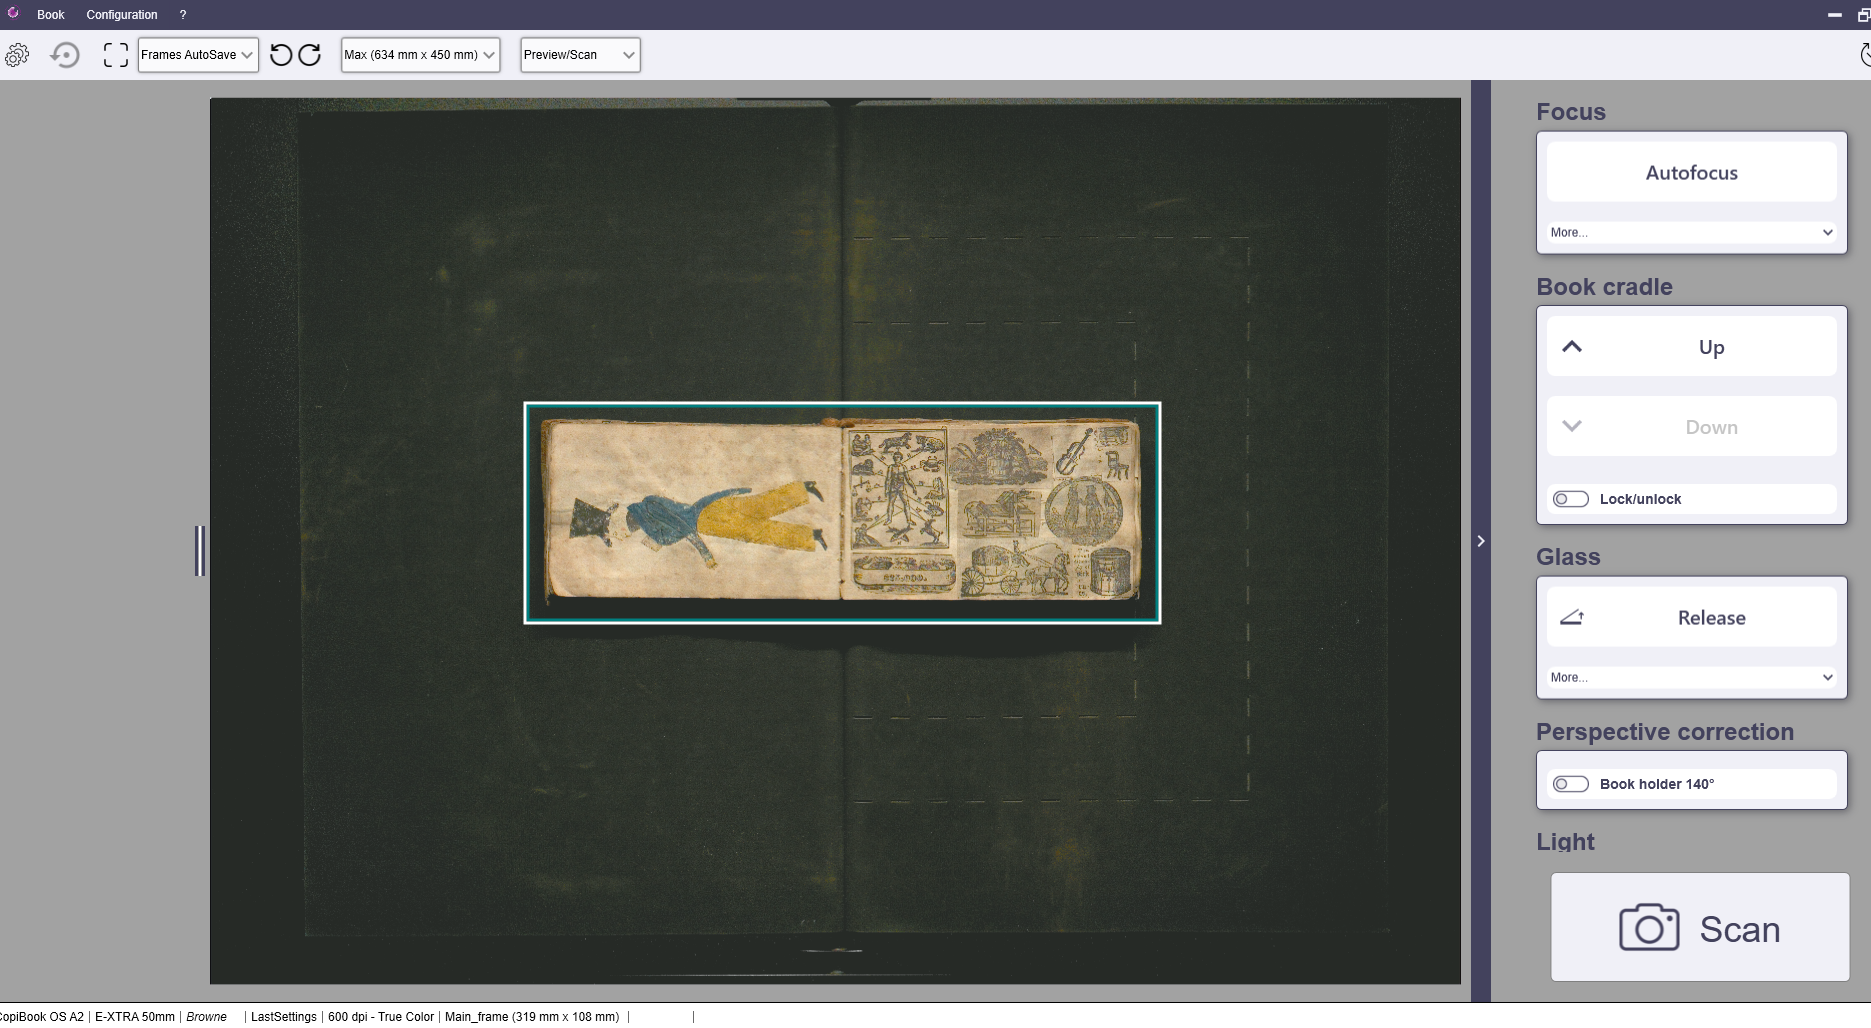
Adjust the marquee to properly capture the image.
- The selected area should perfectly outline the object on the scanner bed leaving a very small, roughly 1 cm. border. Adjust material placement on the scanner bed if necessary and draw the marquee again.
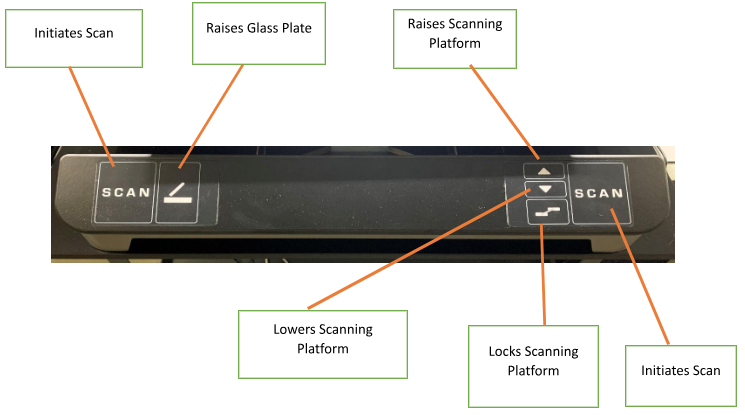
- The scanner controls of raising and lowering the platform will need to be adjusted and the glass plate lowered depending on the material.
Step 7:
Once frames are ready and properly adjusted, scanning can begin!
-
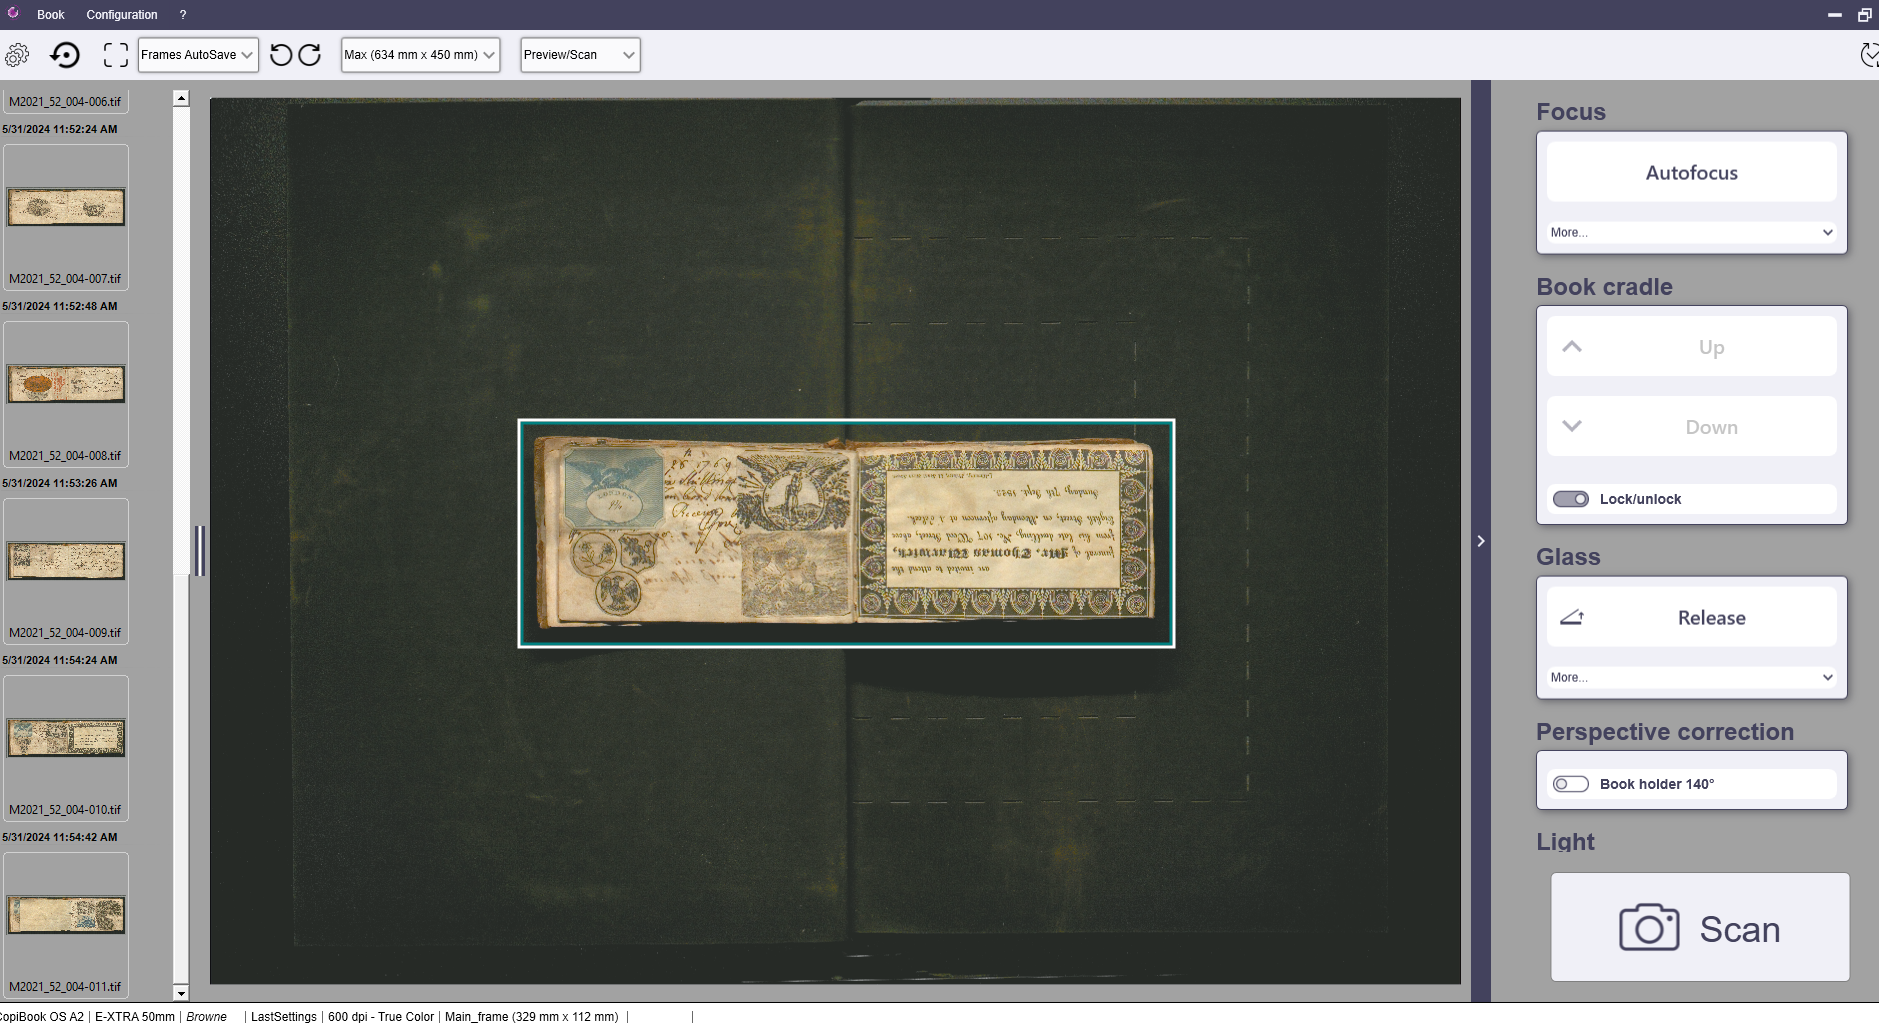
Press either of the Scan buttons on the scanner controls or click the Scan button on the right bottom side of the window.
When the Scan button is selected, a progress bar will appear. The bar will initially display red, then change to yellow, at which point you may turn the page. Once it turns green, the system is ready to begin the next scan.
Important: Starting a scan while the progress bar is still red or yellow may cause the program to crash.
The duration of each stage (red, yellow, green) may vary depending on the file size, file type, and the dimensions of the scanned material. - Always scan both sides of an item/page, even if blank. See other image capture scenarios here.
- After each scan a thumbnail of the completed scan will be available on the left side of the screen. These previews should be periodically checked for quality control.
- Double clicking on the thumbnail image at the left will open up a larger preview of the image in a viewer.
- If you need to delete a page, you can delete its thumbnail image (it will remove the file from the server or hardrive as well). However, make sure to update the Image number value in the properties menu to keep the file sequence in order. Other you will need to use Bulk Rename Utility software to rename files after scanning is complete.
Step 8:
After all material has been scanned:
- Remove material from scanner bed
- Lower scanner bed and glass
- Proceed to Post-Processing and Quality Control workflows.