Epson Expression 12000 XL Flatbed Scanner Guide
This document serves as a guide for digitization practices supporting The Revolutionary City: A Portal to the Nation’s Founding, a collaborative digital project utilizing Islandora and Drupal platforms. Specifically, it is intended to guide project staff in the use of the Epson Expression 12000XL flatbed scanner to produce high-quality digital surrogates of original materials.
This document will be updated as needed to reflect changes in software, hardware, or digitization standards.

Step 1:
Turn on the scanner and allow it to warm up for a few minutes before starting.
Step 2:
Clean glass before each scanning session and as needed.
Step 3:
Load the Epson Scan 2 software from the computer.
- Note: You may need to turn on the scanner, hit refresh on software and choose scanner in order to run software.

Step 4:
Determine scan specs by consulting Digitization Guidelines or Workflows Guide.
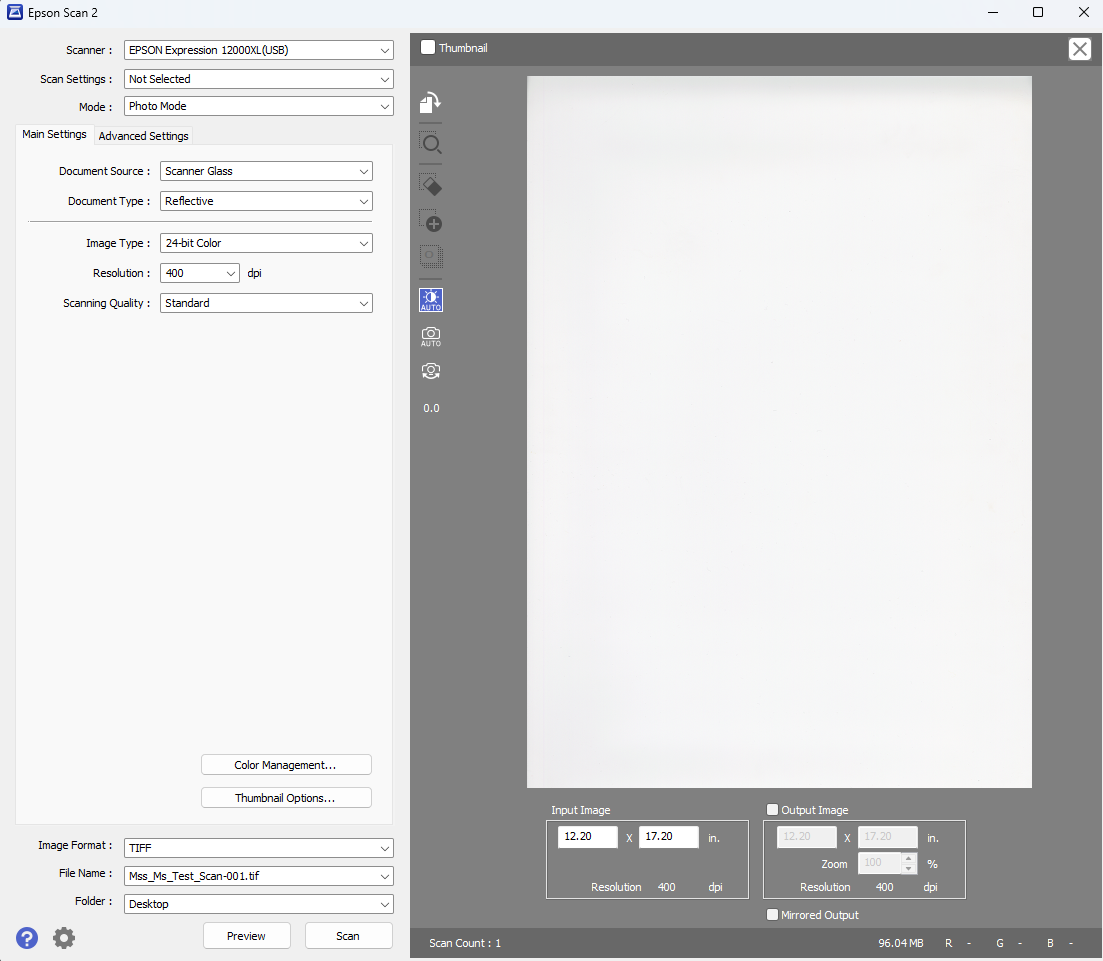
- On the left hand of the screen you will see the Settings. There are two tabs: Main Settings and Advanced Settings.
- In the Main Settings menu, choose the appropriate settings.
Mode: Photo Mode
Document Source: Scanner Glass
Document Type: Reflective
Scanning Quality: Standard
Step 5:
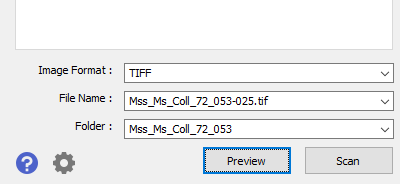
Adjust settings for files to be created. This is done at the bottom left of the screen.
- Image Format: TIFF (always!)
- File name: Follow standard for file naming conventions (See step 6).
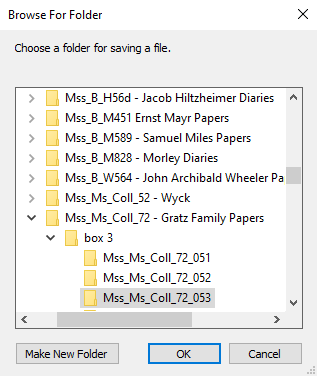
- Folder: Before scanning begins it is important to create a folder where the scans are going to be sent. All scans should be saved to the public drive or external hard drive. Consult Digitization Guidelines or Workflows Guide for folder naming and structure.
Step 6:
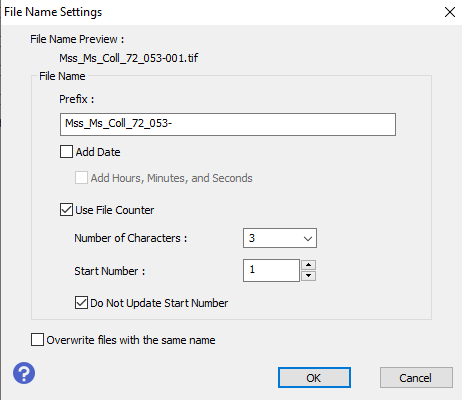
Set up the file name conventions.
- The Prefix should contain the collection number (with underscores instead of periods) and a hyphen to separate the sequential files. The Number of Characters should be padded for 3. The Start Number reflects the page sequence of the current item.
- In the example above we are scanning material from the Gratz Family papers (Mss.Ms.Coll.72). The file shown is the 53rd folder in the collection and the first item in the folder will be named Mss_Ms_Coll_72_053-001. Each additional scan will be Mss_Ms_Coll_72_053-002, Mss_Ms_Coll_72_0053-003, and so on until a new folder is ready to be scanned.
Step 7:
Place the item face down on the scanner bed and close the lid, allow for 1/8-1/4” inch margin all around if possible.
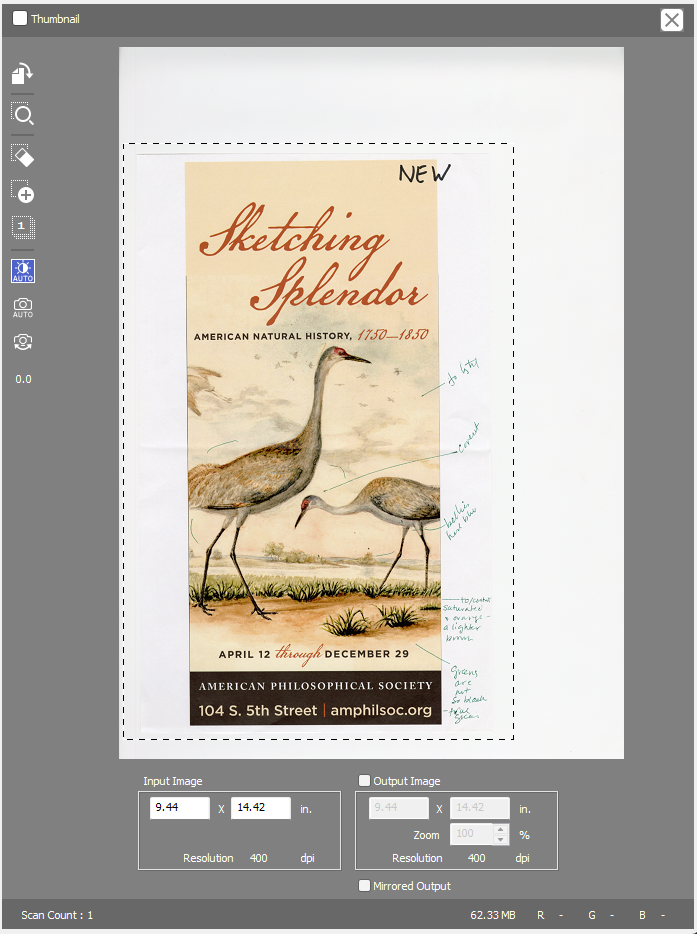
- Selecting the preview button at the bottom left of the screen will generate a preview of what is on the scanner bed.
- Use your cursor to draw a box of the exact area you want captured by the scanner (this is your marquee - it appears as a dotted line).
- The scanner will only capture what is within the marquee you have drawn.
- The selected area should perfectly outline the object on the flatbed leaving a very small, roughly 1 cm border. Adjust material placement on the scan bed if necessary and draw the marquee again.
Step 8:
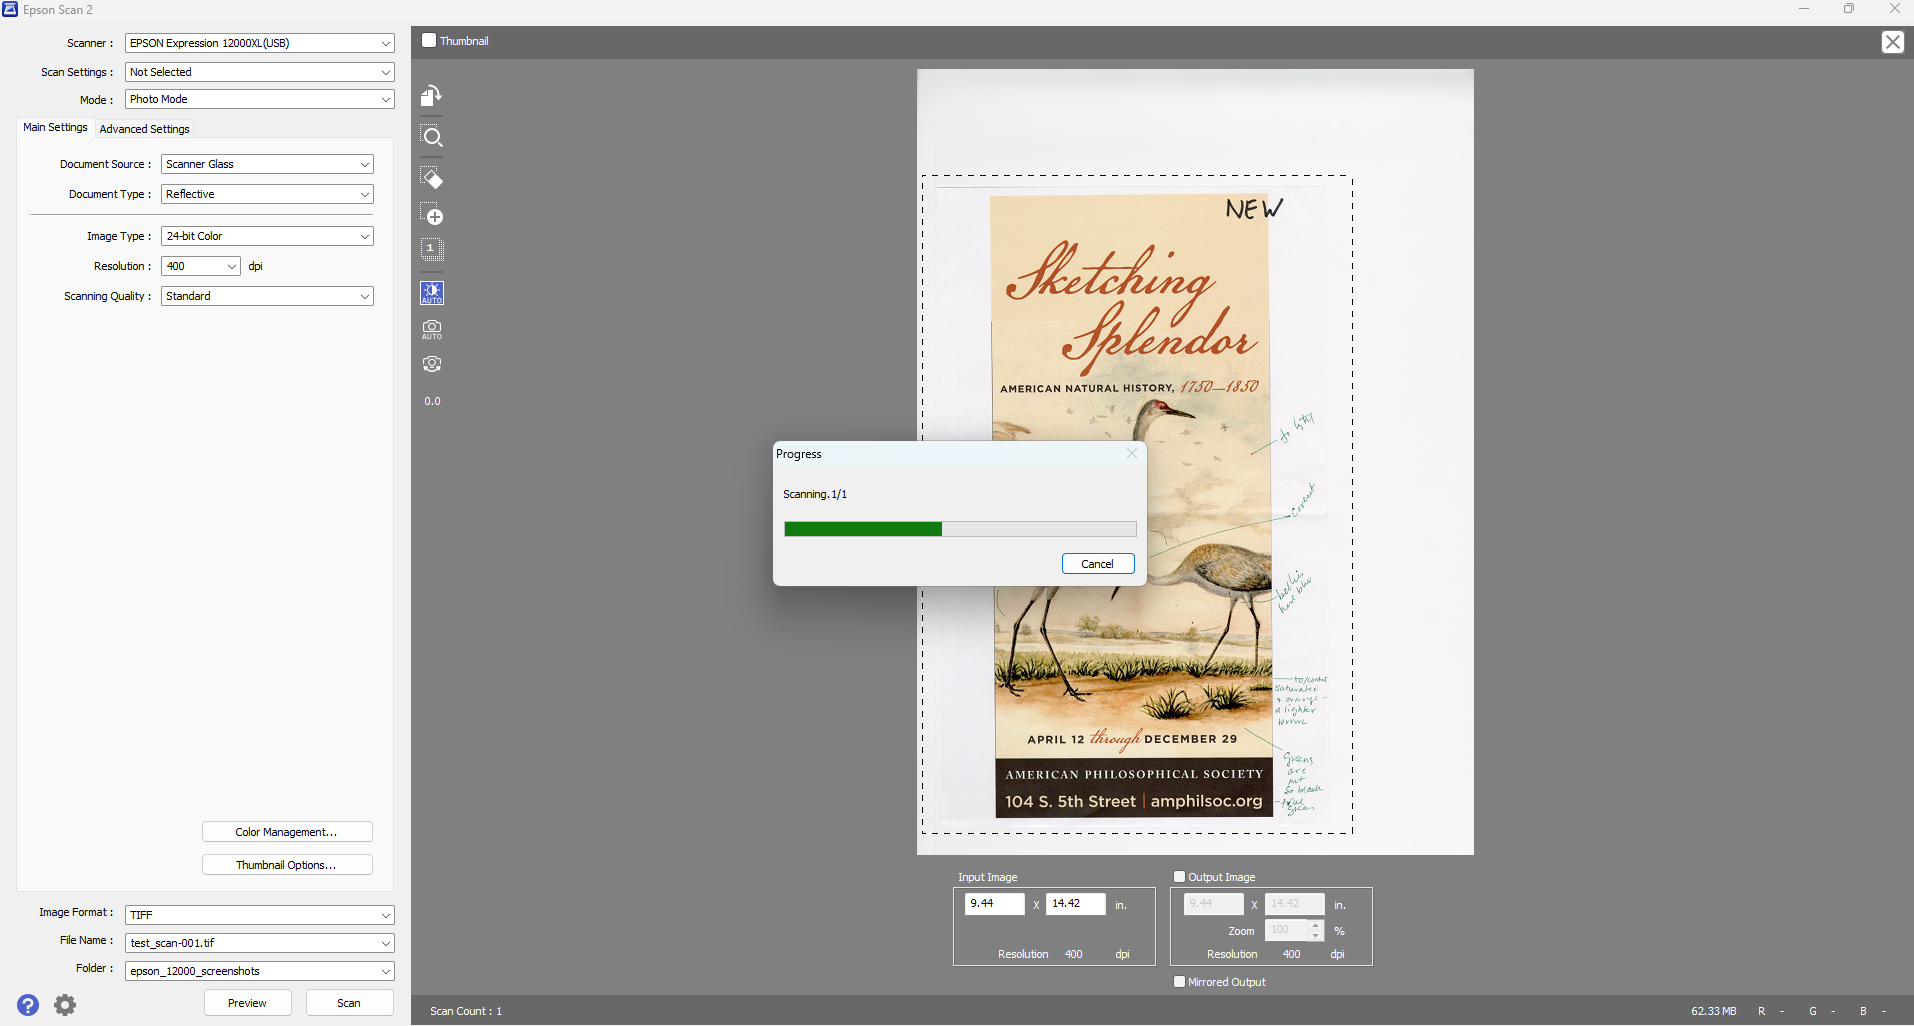
Begin scanning the material.
- Once you have selected the proper area to scan then select the SCAN button at the bottom left of the Epson screen.
- You will see a green progress bar. Timing of the scan depends on the size of the object and the DPI.
- Once the progress bar is gone the scan is done and you can move on to the next piece of material within the folder. Keep in mind that you will need to update the file name and folder destination for each new folder.
- Always scan both sides of an item/page, even if blank. See other image capture scenarios here.
Step 9:
After all material has been scanned:
- Remove material from scanner bed.
- Lower scanner lid.
- Proceed to Post-Processing and Quality Control workflows.